Chaos Temple: Difference between revisions
From Stormhalter
Created page with "thumb|Chaos Temple Lower thumb|Chaos Temple Main Floor and Town File:Chaostower2-p8.png|thumb|Chaos Temple 2nd Floo..." |
No edit summary |
||
| (3 intermediate revisions by 2 users not shown) | |||
| Line 1: | Line 1: | ||
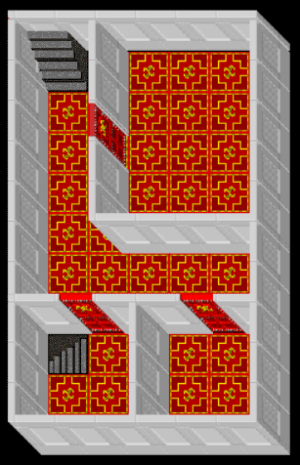
[[File:Chaostowerlower-p8.png|thumb|Chaos Temple Lower]] | [[File:Chaostowerlower-p8.png|thumb|Chaos Temple Lower]] | ||
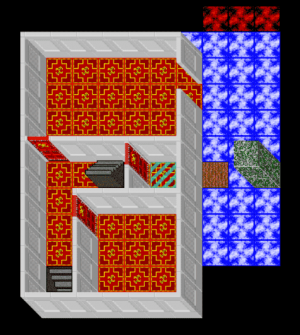
[[File:Chaostower2-p8.png|thumb|Chaos Temple 2nd Floor]] | [[File:Chaostower2-p8.png|thumb|Chaos Temple 2nd Floor]] | ||
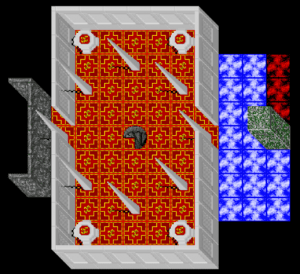
[[File:Chaostowertop-p8.png|thumb|Chaos Temple Top]] | [[File:Chaostowertop-p8.png|thumb|Chaos Temple Top]] | ||
<div>Deep in the temple to the west is where the order performed many of their greatest experiments. </div> | |||
<big>'''Connected Areas'''</big> | |||
* [[Chaos Town]] | |||
* [[Ogre Caves]] | |||
<big>'''Recommended Protections'''</big> | |||
* ?? | |||
<big>'''Expected Enemy Pack(s)'''</big> | |||
* ?? | |||
<big>'''General Notes'''</big> | |||
* ?? | |||


